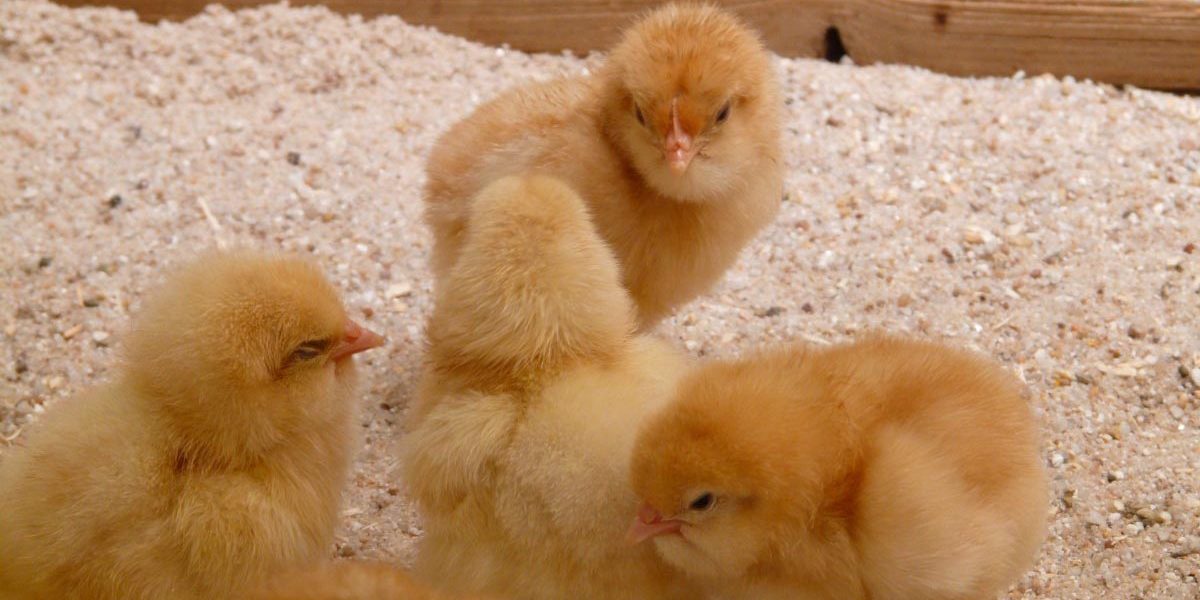
There are some important steps you need to take to get ready for your shipment before your chicks arrive. Basically, your goal is to get everything you need set up and ready to go. That way, when your chicks arrive, you won’t have to worry about scrambling to keep them warm, protected, fed and watered.
Please note that this information is designed for those of you who are ordering chicks through the mail. If, on the other hand, you are planning to incubate your own eggs or allow your hens to hatch the eggs for you, please refer to one of our other articles.
Nothing is free nowadays, so the reality is that you will need to do some shopping in preparation for your new arrival. Don’t worry though; in many cases you can save some money by using everyday household items, and we can show you how.
Shopping List
Your shopping list can be understood by looking at it from the perspective of the three most important objectives you have:
- Keep your chicks warm and protected
- Water your chicks
- Feed your chicks
Keep your chicks warm and protected
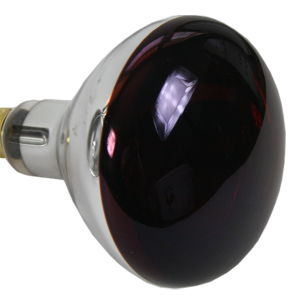
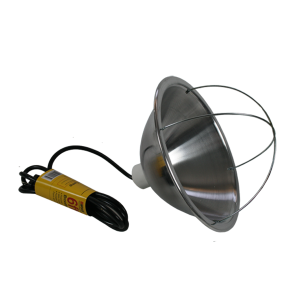
You have several options to keep your chicks warm and protected from predators. While all of these options accomplish similar goals, they offer different levels of cost and salability. Several options include:
- Home brooder: Non-commercial, often disposable, inexpensive enclosure
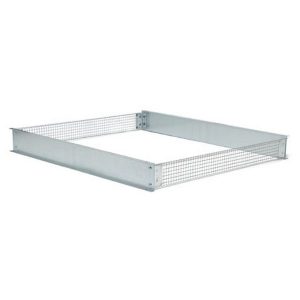
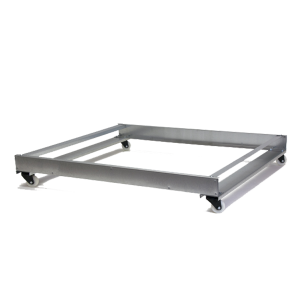
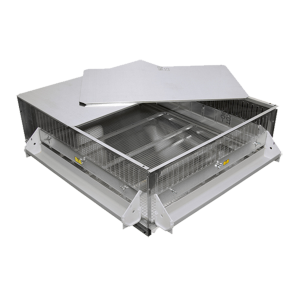
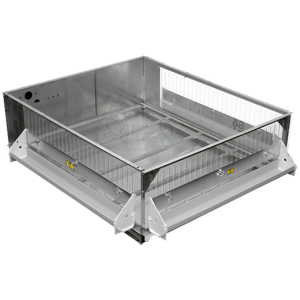
- Box brooder: Metal or plastic bin with mesh floors, built in heat, feeders and waterers
- Area brooder: Pen with hanging heat source, perimeter walls, ground feeders and waterers
For our typical backyard chicken customers, we recommend using a Home brooder which you can get a head start on by purchasing one of our DIY Chick Starter Kits or building something similar on your own.
If you are expecting to raise numerous chicks at once, or perhaps want a solution that supports multiple uses year after year, a commercial box brooder or area brooder may be a better way to go.
Water your chicks
One of the first things you will want to do for your newly arrived chicks is give them some water. In fact, it’s important that they have water in their tummies before you give them their first taste of food.
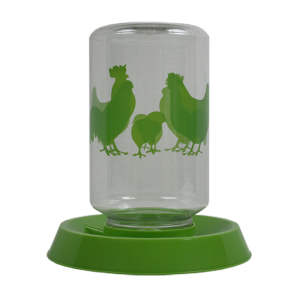
Getting your chicks to drink water safely really does require a waterer designed for chicks. It is not as simple as placing a dish of water in front of them. Chick Waterers are specially designed to:
- Prevent chicks from drowning
- Reduce contamination from fecal matter
- Allow easy cleaning and sanitation
- Limit spills
You should plan to refill your water supplies regularly and sanitize the waterer every day with warm water and vinegar. Of course, special poultry sanitizers are available as well.
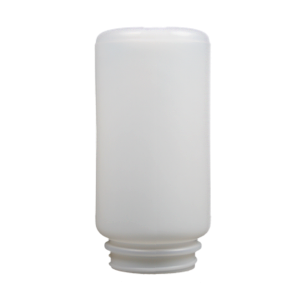
You will likely be fine starting out with a 1-Litre (1 quart) waterer for the first week. After the first week though, you may find yourself doing frequent refills at which point you will probably want to increase to a larger 1 gallon chick waterer, and ultimately up to a 3 gallon poultry waterer unit.
An alternative to the common jar waterers is to use a chick trough waterer. If you go this route, figure 20 linear inches per 100 chicks until they are 2 weeks old. Then, allow 30 linear inches from 2 weeks on.
The following table highlights various chick watering products that we carry:
Feed your chicks
Perhaps it goes without saying that you will need to feed your chicks, but what may not be immediately obvious is that you will not be able to use the same feeders or feed as you do for mature chickens. Just like human babies, baby chickens need specially formulated food and feeders designed for their small bodies.
Before your chicks arrive here are three primary types of feed that you can consider:
If you plan to raise your flock organically, then your decision is made for you. Stick with organic feed from the start, and you will know your eggs or meat will be organic too.
The decision between traditional starter and medicated starter depends on how susceptible your flock is to disease and if you had your chicks immunized. If your chicks were given an immunization for coccidiosis by the breeder do not give them medicated starter. Giving an immunized chick medicated starter risks neutralizing their vaccine.
If your chicks were not immunized by the breeder, then your decision to get medicated or traditional starter comes down to how susceptible your chicks are to disease.
If you decide to use organic or traditional non-medicated starter there are several actions you can take to minimize the risk of them getting sick, including:
- Keep your brooder clean
- Keep your litter clean and dry
- Refresh water supplies regularly and sanitize your chick waterer daily
- Prevent chicks from getting excrement into water and food supplies
- Keep chicks out of warm humid weather (e.g., target spring hatches)
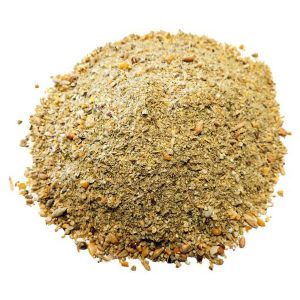
Before your chicks arrive you will need a total of about 10 lbs of starter per chick, for the first 10 weeks of their life. Obviously, you don’t need to buy all of this starter at once, but make sure you don’t run out!
Purchasing your chick starter is critical, but don’t forget you need a way to present the feed to your new birds. Initially, you should simply sprinkle the starter feed on a paper towel or paper plate. You can graduate within a couple days to a plastic coffee can lid or paper shoe box cover.
The bottom line is that after a couple days, your chicks will begin to scratch feed out of simple feeders like those mentioned above. Once this scratching begins, you know it is time to move into a more traditional chick feeder.
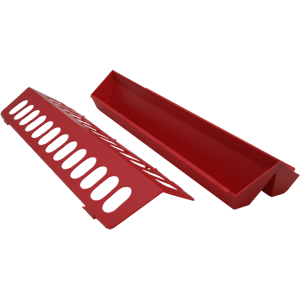
Chick feeders are designed to:
- Reduce contamination from fecal matter
- Allow easy cleaning and sanitation
- Limit spills
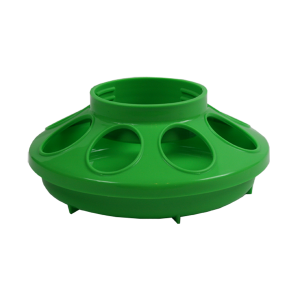
Regardless of whether you purchase a round jar feeder or a trough, you will need one feed opening per chick. So, if your feeder has eight slots, it is large enough for up to eight chicks.
You will want to clean your feeders thoroughly at least once a week, and try to avoid letting them be empty for extended amounts of time because lack of food will encourage bad behaviors like picking.
The following table highlights various chick feeders and chick starter feed that we carry:
Our chick feeders are easy to clean, reduce wasted feed and help maintain sanitation.
We hope this overview of what to do before your chicks arrive has helped.

